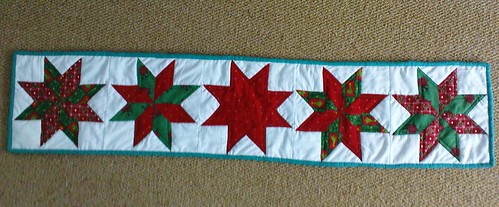
All finished and on the table, its got stitch in the ditch with invisible thread around the stars and highlighted 1/4" in with green thread.
Friday, December 24, 2010
Wednesday, December 15, 2010
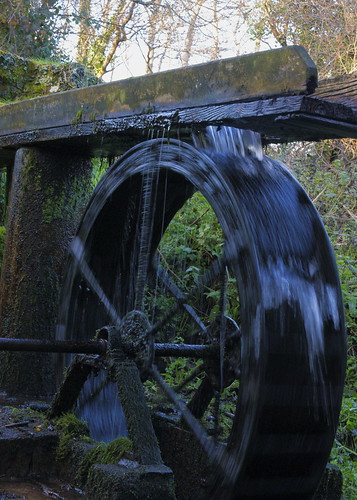
whooshing water wheel
... a beautiful find near the cottage where we stayed last week. I took lots more of it!
Monday, December 13, 2010
Mystery project finish
I'm not sure anyone would have guessed what it was but let me know if you did!
Its a cabin clock case for my DD's present. I made it with a plane, balloon and ship showing as she is now a fully fledged Naval aviator. Well done hun.
Its a cabin clock case for my DD's present. I made it with a plane, balloon and ship showing as she is now a fully fledged Naval aviator. Well done hun.
Saturday, December 11, 2010
Le Moyne progress and mini tutorial
I tried a few different way to assemble the stars
First making the star and then adding the outside pieces
and then making up sections and adding one on to another going round
and finally the most successful making up quarters and assembing. This led to the best seam placements.
Heres a few pics of it being made up to give you a guide, the best thing about this way is that you do all the white pieces together and its one continuous seam.
This photo shows how one seam goes one way and the other points out the other way, these can be sewn into position and so aid it being put together.
The two halves then sew together really easily. I made the final three this way and it was super quick to do, probably faster hand sewing the y seams rather than attempting to machine them.
Here's the final order all ready to be trimmed, sewn together and basted together.
Wednesday, December 1, 2010
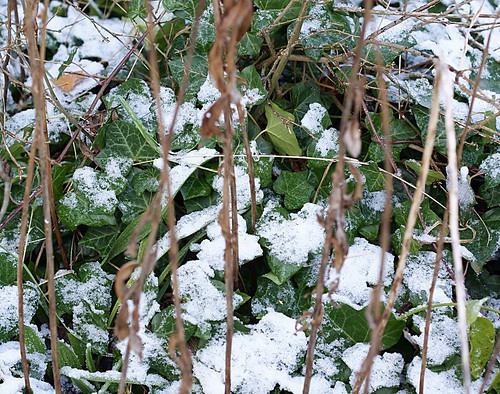
ivy and twigs
It was a beautiful day yesterday so grabbed a few minutes to get snapping. The little snow we had was gong very soft and then was getting ready to refreeze as ice, it was very slippy later on.
Subscribe to:
Comments (Atom)


